Sunday, 7 October 2012
Monday, 1 October 2012
Pachis work - Zippered Pouch
I have done a small zippered pouch with Pachis Work. This was done as a part of Pachis Work Challenge announced here. Its a great thought from Shari to try Pachis work in a Gingham fabric.
The tutorial for Pachis work can be found here. The tutorial for zippered pouch is here. My phone snugly fits in this .
Friday, 15 June 2012
TAST 24 - Buttonhole Wheel
Here is my stitch sampler for buttonhole wheel.. I like this stitch and I have already used it before.
1) The center button wheel circumference is made of seed beads. I added two beads in the strings every time before picking the fabric from the centre.
2) The red button wheel is a simple ordinary initial trial
3) The dark green button wheel next to the red one has alternating button hole stitches varied in length.
4) The orange button wheel is worked initially and on the spikes created the ribbed spider wheel stitch is woven. Care needs to be taken here as when we start weaving the circle formed is pushed to the front. I had to stop weaving in the middle for this same reason.
5) The cream color button wheel next to orange is worked with the spikes apart and inbetween the spikes French knots are done.
6) The green color button wheel with the orange center is worked using woven spider wheel.
7) The pink color button wheel has it spikes made of bullion knots. When the fabric is picked from the center to the circumference you wind the thread around the needle to make these bullion spikes.
8)The last Grey button wheel has chain stitches in the circumference. After the fabric is picked from the center to the circumference and the thread pulled through , a small chain stitch is made in the circumference before proceeding.
1) The center button wheel circumference is made of seed beads. I added two beads in the strings every time before picking the fabric from the centre.
2) The red button wheel is a simple ordinary initial trial
3) The dark green button wheel next to the red one has alternating button hole stitches varied in length.
4) The orange button wheel is worked initially and on the spikes created the ribbed spider wheel stitch is woven. Care needs to be taken here as when we start weaving the circle formed is pushed to the front. I had to stop weaving in the middle for this same reason.
5) The cream color button wheel next to orange is worked with the spikes apart and inbetween the spikes French knots are done.
6) The green color button wheel with the orange center is worked using woven spider wheel.
7) The pink color button wheel has it spikes made of bullion knots. When the fabric is picked from the center to the circumference you wind the thread around the needle to make these bullion spikes.
8)The last Grey button wheel has chain stitches in the circumference. After the fabric is picked from the center to the circumference and the thread pulled through , a small chain stitch is made in the circumference before proceeding.
Sunday, 3 June 2012
TAST 22 - Knotted Cretan Stitch
I had a busy week and could not do much with this stitch. It was easy as I had earlier done the Cretan stitch in TAST. I have combined the knotted cretan stitch with Mary Corbet's Stitch Play .
First, I stitched a row of Knotted Cretan stitch. Then I took two different varigated orange and pale green Perl cotton threads and weaved them in the bottom straight line made by the Knotted Cretan Stitch. Then I weaved the top straight line of Knotted Cretan Stitch with scarlet and dark green Perl cotton threads.
I should have placed my knotted cretan's near to each other, to get a better look of this trial.
Friday, 25 May 2012
TAST 21 - Butterfly Chain Stitch
This stitch is a new one for me and it was quite simple and easy. I tried this with stranded cotton threads of 3, 4,5 straight stitches in different directions. I drew 5 circles 1 centimeter apart. The inner most circle has 3 tiny straight stitches. The outermost circle was done with 4 straight stitches of varying lengths. Here is the picture.
I
I
Saturday, 12 May 2012
TAST 19 - Half Chevron
This is a new stitch for me. It was easy as I had earlier done the Chevron stitch in TAST. Here are my trials with the stitch.
1) Half chevron stitch in dark blue was a trial learning this stitch
2)I went through Sharon's stitch guide to learn this stitch. It was mentioned that unlike Chevron, this stitch curves very well. So I tried doing this stitch in a wavy / scallop pattern. Two scallops of Half Chevron was done and in the middle Chain stitch is done with the black color floss.
3) I tried this stitch around two circles. Half Chevron stitch in the two circles not facing each other. In between I have stitched a outline of this circle with the back stitch and the centre of the circle is stitched in round button wheels stitch.
4) I tried using this stitch as a filling one. So, drew a small tree and tried it...
Here is the overall sampler for this stitch.
I have missed TAST 16,17,18 due to professional commitments and I need to catch up fast.
Tuesday, 8 May 2012
Lesson - Chikan SAL completed!!!!
Hi,
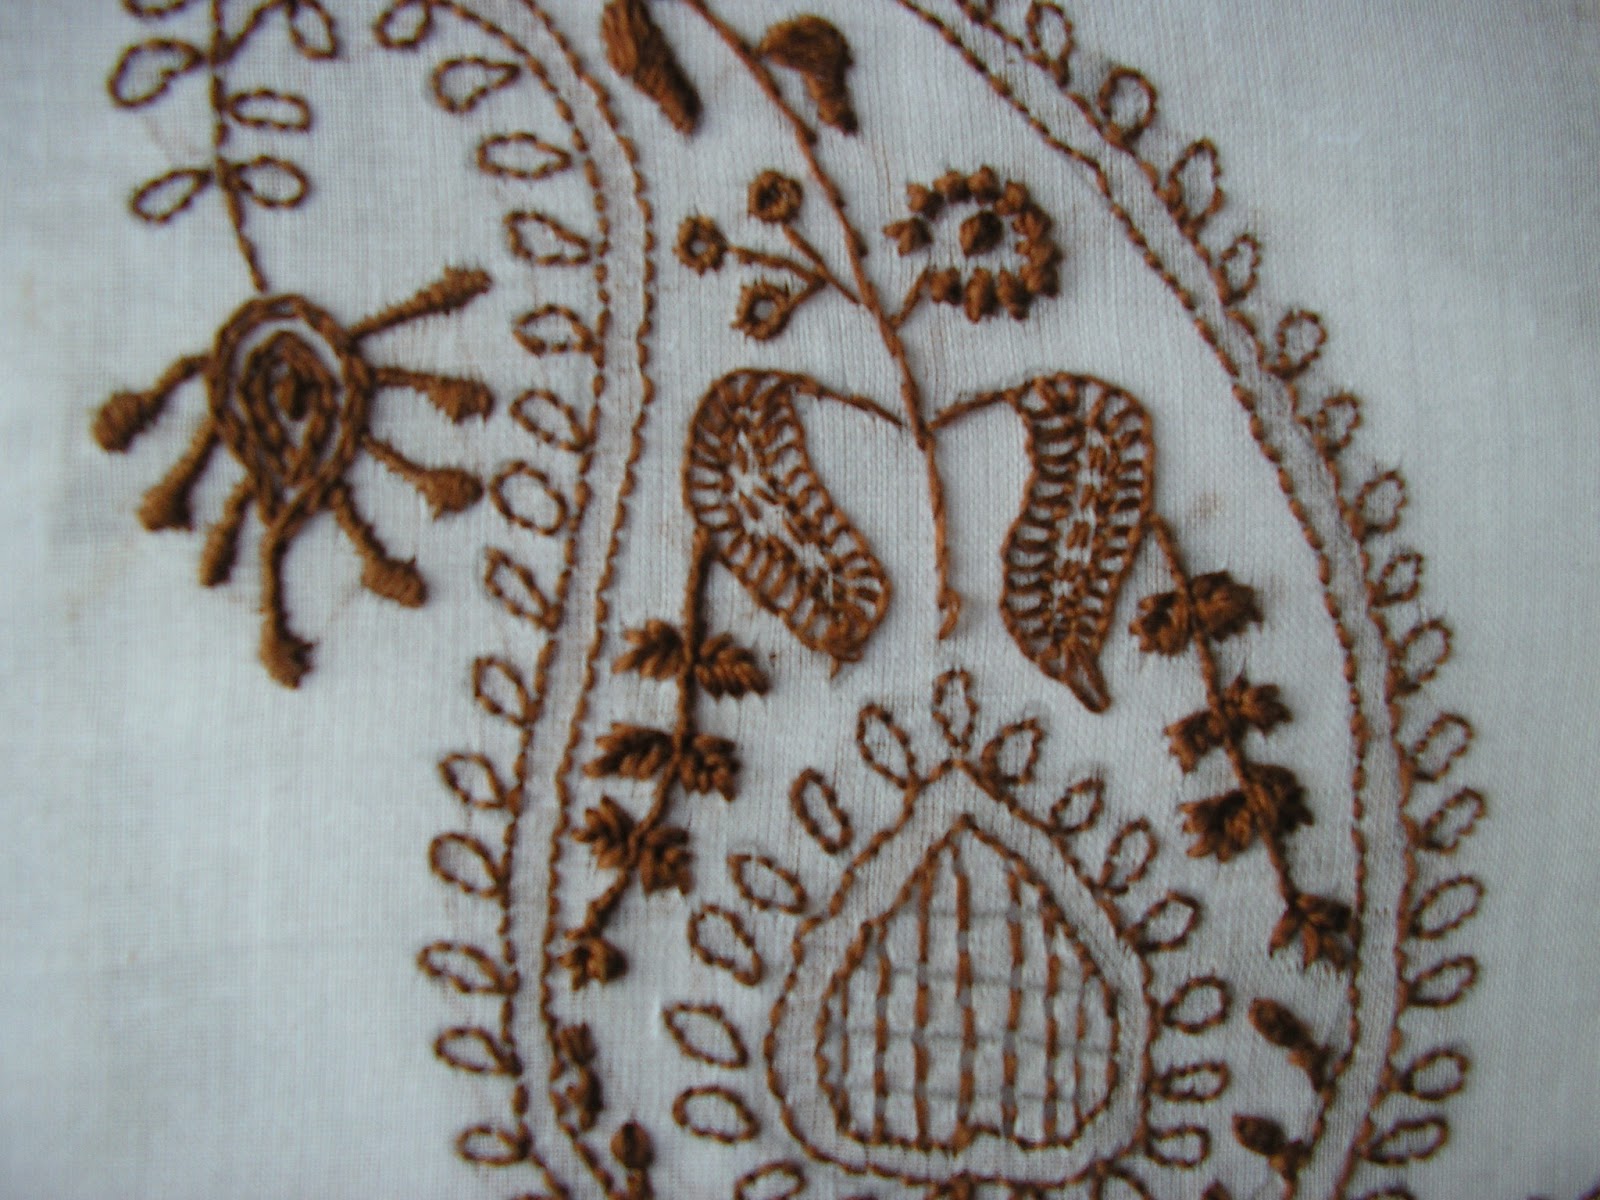
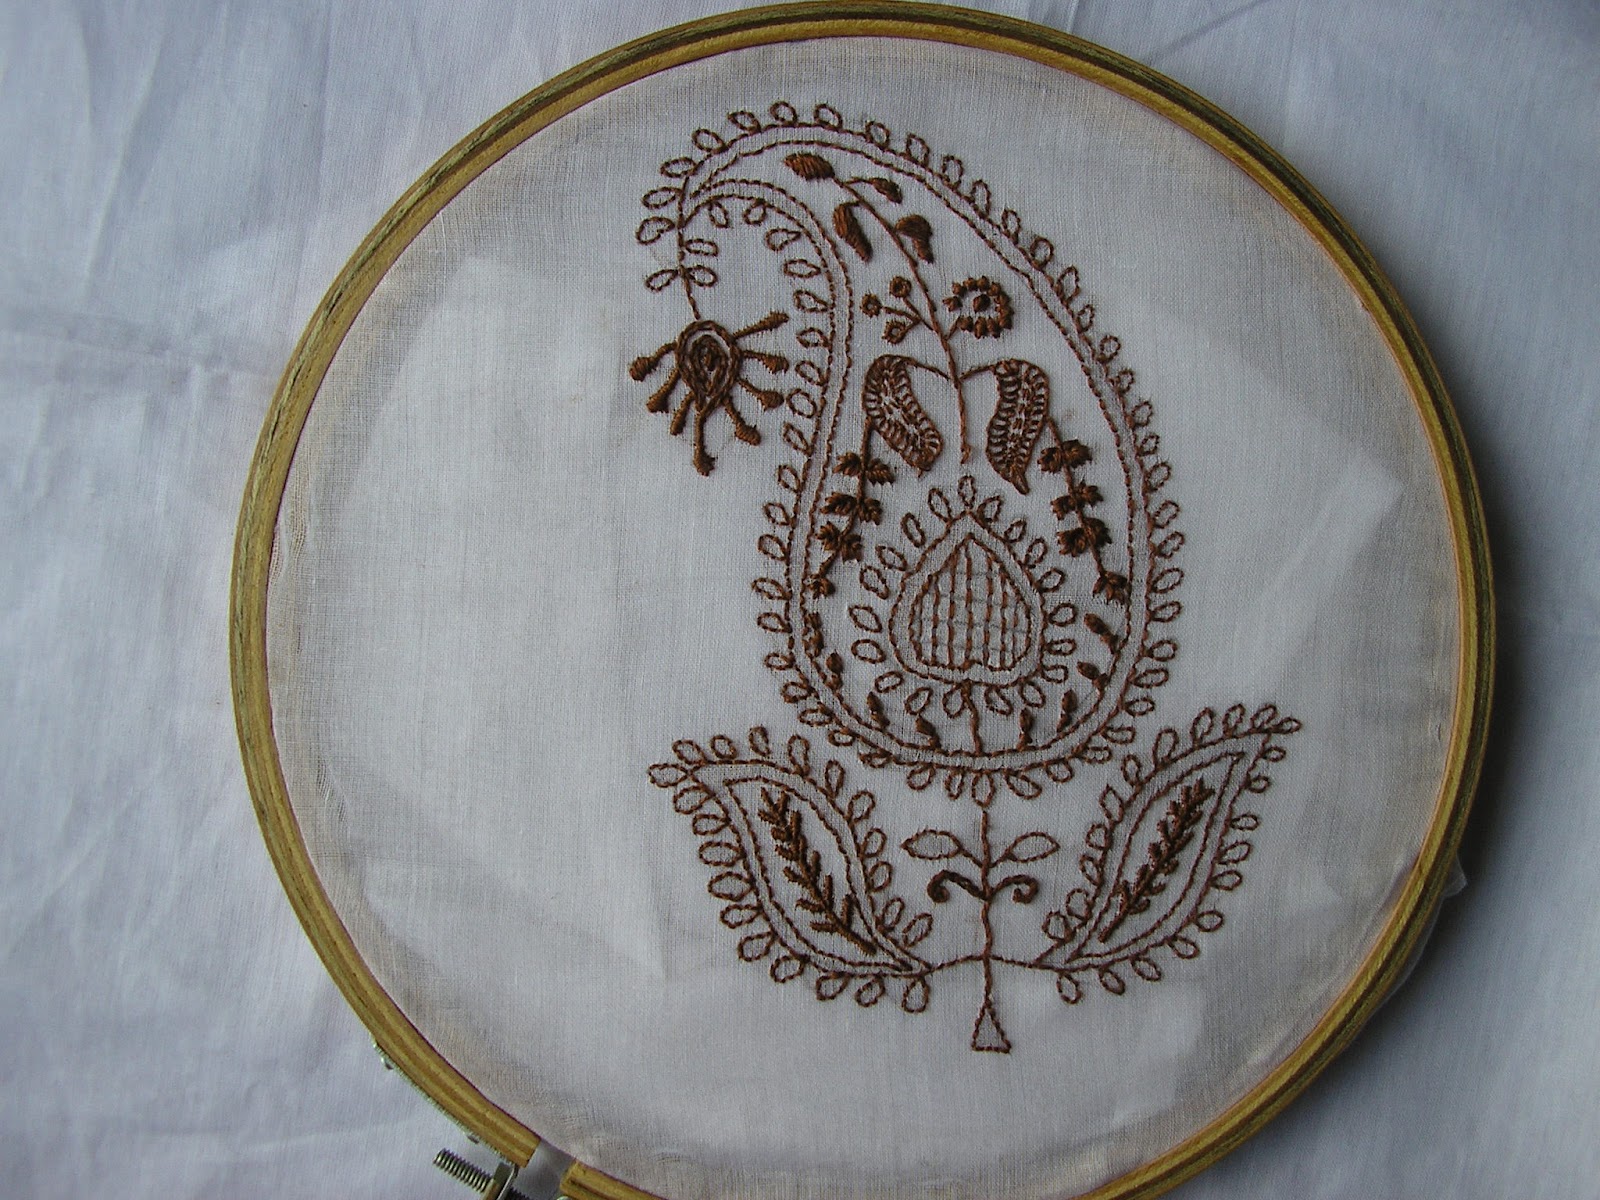
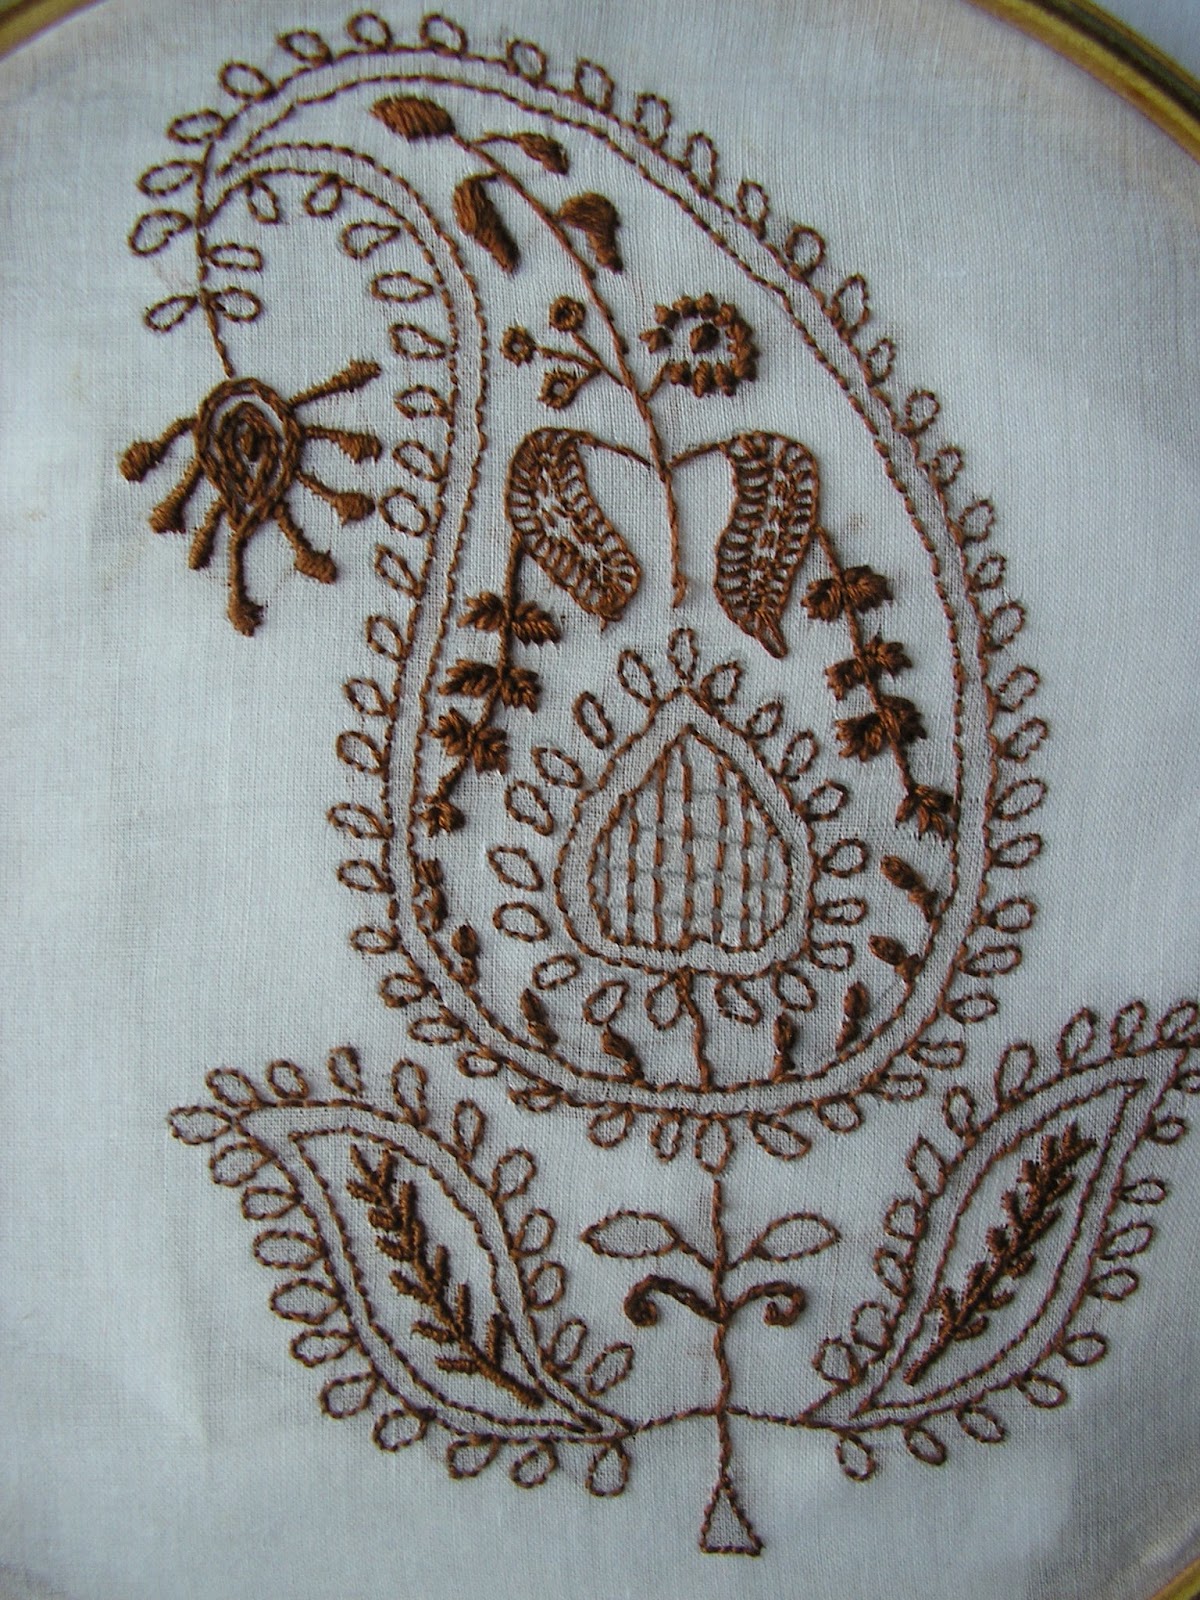
I have completed the final Lesson of Chikan SAL today. I was fascinated by this new Eyelet stitch....consisting of simple running stitch around the circumference and filling the radius with the satin stitches. Eyelet stitch is really cute. This stitch reminded me the round button wheel stitches.
I tried the wave filling stitch some 3 times in my doodle cloth. The white voile fabric which I am using is very delicate, so when I tried to place the grid points near to each other, it did not look that very appealing. So, I have placed the grid points little apart in this paisley design heart.
Here are few photos.
Thank You so much Anita for this opportunity to learn Chikankari work. I thoroughly enjoyed these two months of Chikankari SAL. It is a very professionally done course with all necessary documentation and timely posts , patiently replying to all my queries over email along with your feedback & guidance. Your tutorial was very simple and clear as well.
Sometime in the future I will stitch me a tunic with this Chikankariwork.
I have completed the final Lesson of Chikan SAL today. I was fascinated by this new Eyelet stitch....consisting of simple running stitch around the circumference and filling the radius with the satin stitches. Eyelet stitch is really cute. This stitch reminded me the round button wheel stitches.
I tried the wave filling stitch some 3 times in my doodle cloth. The white voile fabric which I am using is very delicate, so when I tried to place the grid points near to each other, it did not look that very appealing. So, I have placed the grid points little apart in this paisley design heart.
Here are few photos.
Thank You so much Anita for this opportunity to learn Chikankari work. I thoroughly enjoyed these two months of Chikankari SAL. It is a very professionally done course with all necessary documentation and timely posts , patiently replying to all my queries over email along with your feedback & guidance. Your tutorial was very simple and clear as well.
Sometime in the future I will stitch me a tunic with this Chikankariwork.
Subscribe to:
Posts (Atom)
TAST 7 & Beyond TAST 7 - Detached Chain Stitch & Barred Chain Stitch & Alternating Barred Chain stitch
Here is my TAST 2021 sampler with this week's stitches.
-
TAST 30 - Lock Stitch Lock Stitch is a very new stitch to me. Feeling happy to add this to my known stitches skill set. Initially a row o...
-
Here is my sample for whipped wheel. I have used a single red crystal bead in the center. It is not clearly visible in this photo. ...
-
Here is my stitch sampler for buttonhole wheel.. I like this stitch and I have already used it before. 1) The center button wheel cir...